![]()
Contents: Basics; Materials; Preparing; Winding; Finishing;
Remotely controlled, HF mobile antennas, like the Scorpion 680 shown at right, are the most popular style of mobile antennas, and for good reason. The ability to change operating frequency while under way is an obvious and compelling attribute. TurboTuner-2®, MFJ®, TargetTuner®, and others have fully automated the controller process, albeit in different ways. No matter the process, every controller, even a manual one, requires one common component; a motor lead RF choke. If the controller requires a turn counter (reed switch), its leads must also be (separately) RF choked.
The reason they need to be choked is simply this. The motor and reed switch are mounted inside the antenna. Depending on the antenna's design, the applied RF voltage (100 watts driving power) is typically ≈200 volts, but may in fact exceed 1,000 volts! This level of RF will destroy any antenna controller, even a manual one! Even if it doesn't, erratic operation, and RFI issues will abound. Thankfully, there is a simple solution—the RF choke.
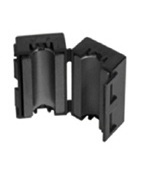 As pointed out in the Antenna Controllers article, the choke must be properly wound, and with the correct ferrite material, or mix. For our purposes, that is Mix 31, and more specifically, in the form of a 3/4 inch ID split bead. DX Engineering (et. al.) sell a kit of five, for about $35. You might as well buy the kit, because you'll no doubt need additional chokes to control Common Mode Current.
What follows is the correct procedure in winding a motor lead and/or reed switch choke (one for each cable, not together!). If you do the task correctly, you'll end up with a choke with a mostly resistive impedance of about 10 k ohms at 10 MHz. This should be adequate in most cases, save for some sloppily installed, short-stubby antennas.
Remember, everything before the choke is part of the antenna, and will radiate! This fact dictates that any choke must be installed outside the vehicle! If you mount them inside, you will be plagued with erratic controller operation, and RFI issues!
 You will need three things. Quite obviously, you'll need a Mix 31, 3/4 inch, ID split bead. Now lets stop right here. No, those cheap split beads from Radio Shack, All Electronics, and most surplus sources will not work! Nor will those tiny mix 43 toroids typically supplied by some antenna manufacturers. Again, you need Mix 31!
Do not use solid wire! The recommended wire is Carol Cable Division®, E1032S.18.10 or equivalent. This wire is 18x2, 7x32 strand, Nylon insulated, with a conductor diameter including the insulation of .068 inches. It is enclosed in a gray (sometimes brown) vinyl outer sheath with a fiberglass pull string enclosed. It is commonly called security wire, but may be labeled speaker wire in some retail stores. Home Depot, Lowes, and others carry this exact wire.
You'll need about 60 inches of wire. It really takes about 50 inches to wind the choke, but the extra length aids in the winding process. While you're at it, buy enough to run from whatever controller you're using, all the way to the antenna. The outer sheath is tough stuff, and just what you need in a mobile installation.
You'll need some tape. The tape shown is 3M, #27, fiberglass tape, 1/2 inch wide. It is available from a variety of sources, including Amidon, and most Ace hardware stores. You can use electrical tape in a pinch, but #27 has many other uses around the shack as the Amidon web site attests to. This includes winding baluns, and ununs. It is self-vulcanizing, and once the sun gets to it, it becomes very difficult to remove. It is also waterproof.
Again, if your controller uses the reed switch, those leads must have their own choke.
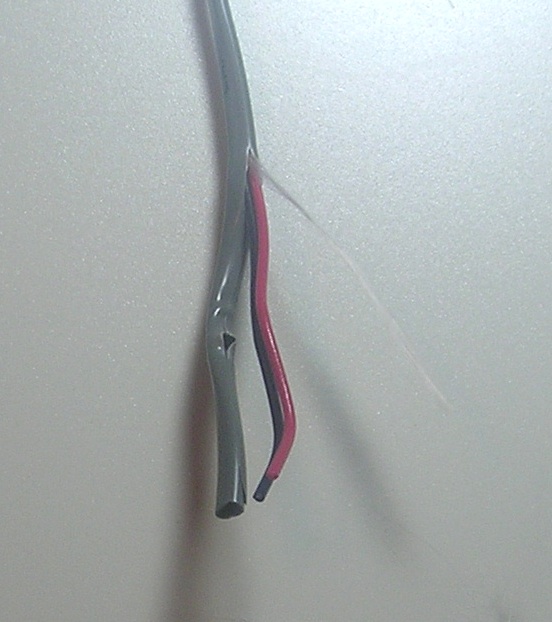
 The first thing is to remove the outer sheath from the cable. This is easy to do if you cut back a few inches of the sheath. Note the fiberglass pull string in the right photo (double click to expand). Just grab the pull string and strip off the outer sheath from the conductors, and discard the sheath and pull string
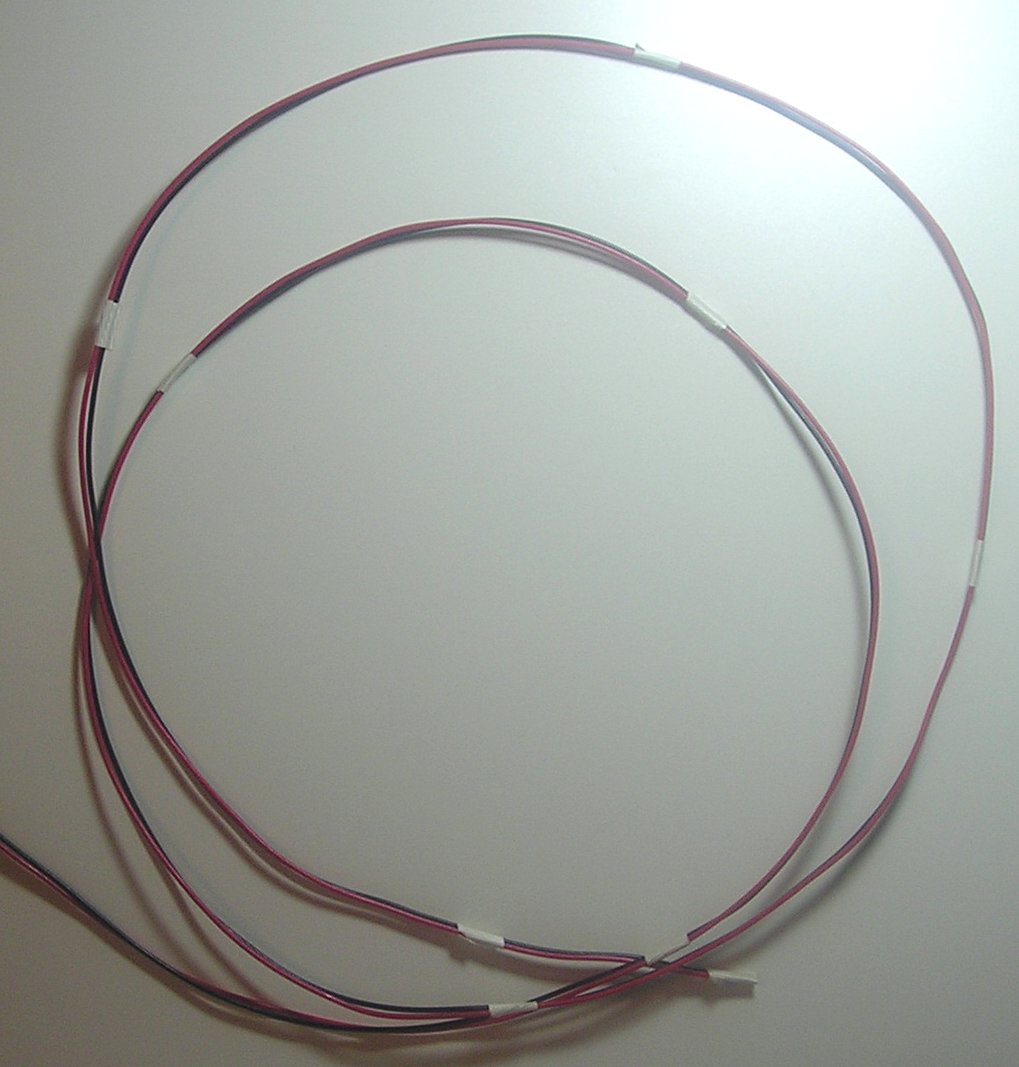
Untwist the conductors, and lay them out parallel. Take out any kinks, and make them as straight as possible. If you have a vice, you can clamp the wires on one end, and pull them through a shop rag. Again, make sure they are straight, and parallel.
Cut off 5 or 6 pieces of #27 tape, 1/2 inches long, and apply them to the straightened wires, about every 12 inches or so. This helps maintain the parallelism of the conductors, assuring they remain untwisted; an absolute requirement when winding the choke if maximum impedance is to be achieved. Also note the tape covering the ends of the wires. This aids in stringing the wire through the split bead.
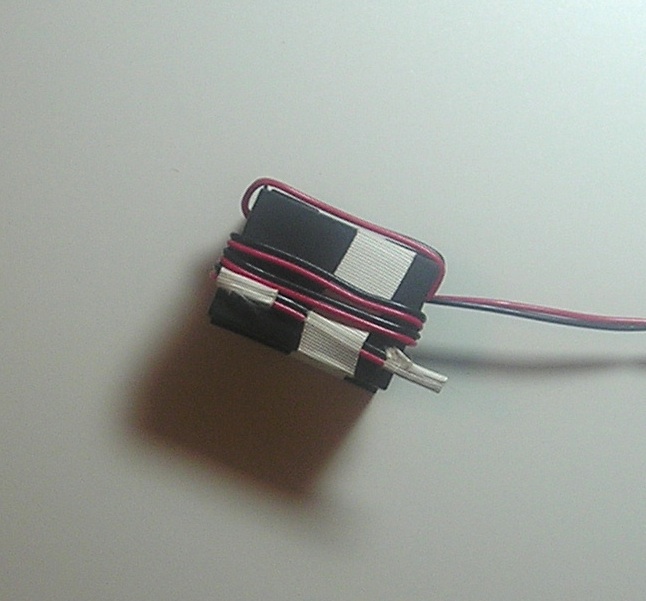
 Look closely at the left photo (double click to expand). Note the end of the wires are taped to the split bead. This holds it in place as the winding is started. At this point, there are two sides covered; one with two turns, one with three turns.
If you've gotten this far, recheck your windings. Make sure none are over lapped, or twisted. Again, it is very important that the wires are not overlapped or twisted.
Continue threading the wires through the split bead. You should have three turns on each side once you're done. This is a total of 13 turns through the completed choke (12 wraps outside, 13 wraps inside).
When you get back to the starting point, carefully cut the tape holding the starting end, and finish winding the last turn (number 13). If you didn't get 13 untwisted, non-overlapped, turns; start over! If you only got 5 to 8 turns, it probably means you used the wrong wire (too large of an OD). Again, the outside diameter should be .068 inches, and nothing larger will work.
Two lengths of #27 tape wound around the choke as shown in the right photo, will assure the wires stay in place. It is not necessary, or advisable, to cover the whole choke with tape. About all that does is hold in any collected moisture. Contrary to popular belief, nothing short of encasing the choke in a block of ice will damage it. It should be secured in some fashion (a single TyRap® will suffice) to keep it mechanically stable.
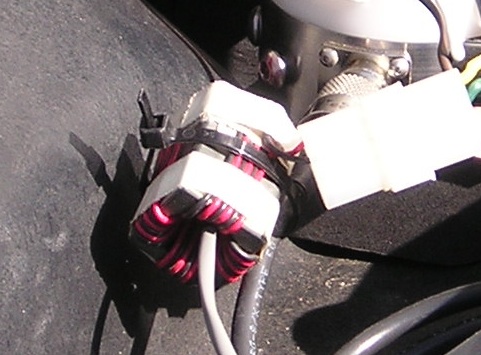
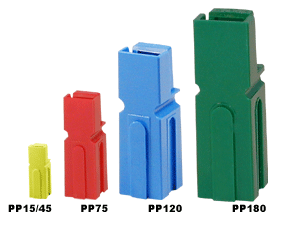 The left photo (double click to expand) shows the completed choke with a Molex connector attached (also note the TyRap®). Some may scoff at using a Molex connector (or Power Poles) for connections exposed to the weather, but the truth lies elsewhere. Far too many rubber enclosed connectors allow water to seep in, where it stays put, and corrodes the contacts. Molex connectors get wet too, but they dry out very quickly. In any case, some form of quick disconnect should be used.
By the way, if you use Power Pole connectors, don't use black & red housings. Using any of the other available colors helps prevent connecting power to the reed switch, an all to common occurrence.
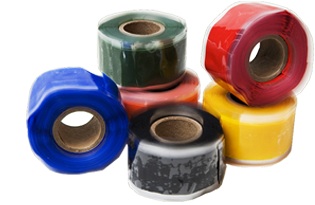 In case you missed the point, do not cover the connection with tape, or coax seal. If the connection gets wet, let it get wet—it will dry out! If you just have to cover it, use Rescue Tape. It is self vulcanizing, and seals better than any electrical tape, no matter the brand! This goes for coax connections too; no electrical tape! And no Coax seal!
There you have it. Motor and/or reed switch lead chokes are easy to wind if you follow the directions, and use the correct material. To reiterate: Mix 31 bead; .068 OD stranded wire; 13 turns; not twisted; and not overlapped. Anything less, start over!